Audio Normalizer: normalize loudness to −14, −16, −19 or −23 LUFS.
- 24-bit WAV included
- Nothing uploads
- True-peak safe
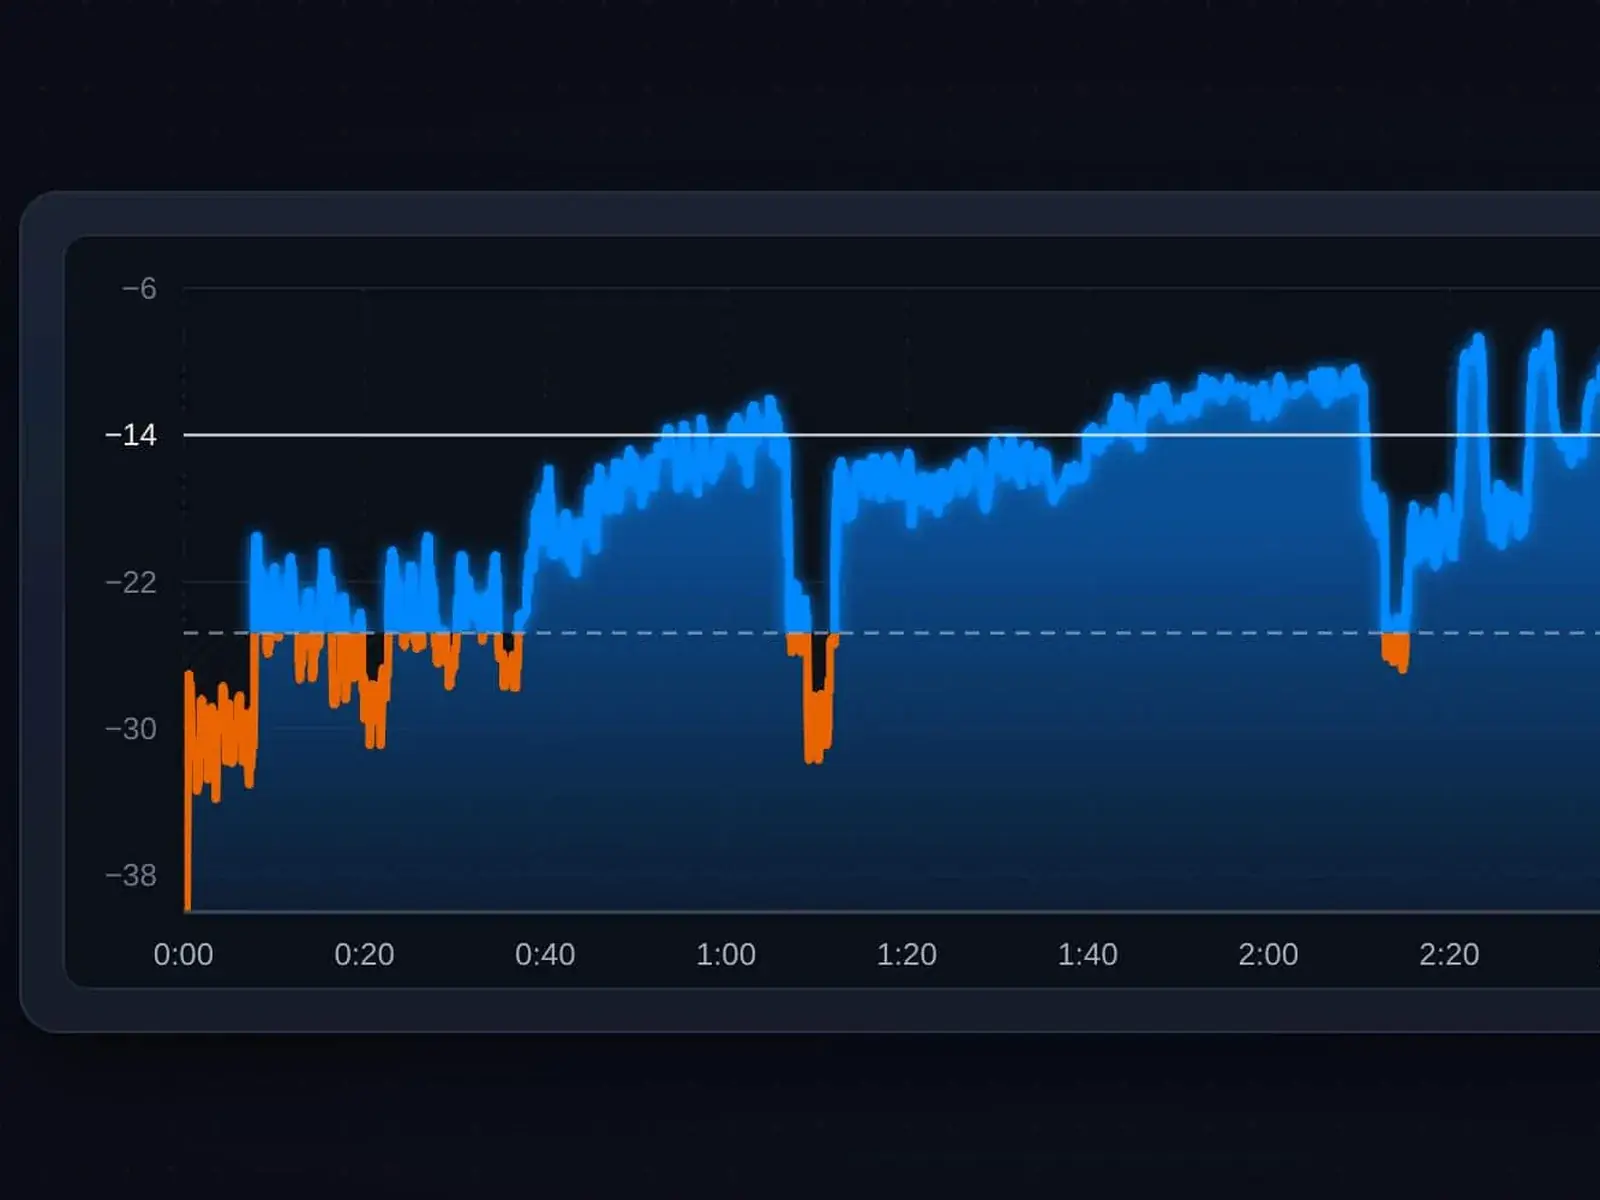
Example result
In short
To normalize audio, drop a file into the audio normalizer above and choose a target: −14 LUFS for Spotify and YouTube, −16 for Apple Music, −19 for podcasts or −23 for broadcast, plus a −1.0 or −2.0 dBTP ceiling. It costs 1 credit per file, with the 24-bit WAV download included.
How it works
How to use the Audio Normalizer
- 1
Drop your file
Drag in a WAV, FLAC, MP3 or M4A up to 200 MB and 10 minutes. Nothing uploads — the file is processed in your browser.
- 2
Pick a target and normalize
Choose −14, −16, −19 or −23 LUFS and a −1.0 or −2.0 dBTP ceiling, then press Normalize (1 credit). Another target on the same file within 30 days costs nothing extra.
- 3
Compare and download
See the gain applied, the output loudness and true peak, A/B against the original, then download the 24-bit WAV — the download is included.
Peak normalization vs. loudness normalization
Audio normalization comes in two kinds. Peak normalization turns a file up or down until its loudest sample hits a set level, say −1 dBFS. It prevents clipping, but it says nothing about how loud the file sounds: two peak-normalized songs can end up 10 dB apart in perceived loudness.
LUFS normalization (loudness normalization) measures integrated loudness — how loud the whole file feels — and the audio normalizer sets the level so it lands on your target. That is what Spotify, YouTube and broadcasters do. Peaks are handled separately, by a true-peak ceiling.
Audio normalization at a glance: peak vs. LUFS
| Peak normalization | LUFS normalization | |
|---|---|---|
| Measures | The single loudest sample (dBFS) | Integrated loudness of the whole file (LUFS) |
| Files end up | Equally peaky, often unequally loud | Equally loud, with peaks kept under a ceiling |
| Used by | Sample editors and DAW “normalize” commands | Spotify, YouTube, Apple Music, broadcasters — and this tool |
Which LUFS target to set in the audio normalizer
The audio normalizer offers four targets. For music on streaming services, normalize to −14 LUFS; -14 LUFS explained covers why. Not sure where your file sits now? Measure it with the LUFS meter first.
| Target | Use it for | Notes |
|---|---|---|
| −14 LUFS | Music for Spotify, YouTube and most streaming services | The common streaming reference; check each platform’s docs |
| −16 LUFS | Apple Music; many podcast hosts’ spec for stereo shows | More headroom, so the limiter is needed less often |
| −19 LUFS | Podcasts and spoken word, especially mono | A widely used reference for mono speech; check your host’s spec |
| −23 LUFS | European broadcast (EBU R128), TV and radio delivery | US broadcast (ATSC A/85) uses −24 LKFS, which isn’t offered here |
Targets are common references, not rules, checked Nov 2026. Your distributor, podcast host or broadcaster has the final spec.
How the audio normalizer keeps peaks safe
Normalizing down is simple: every sample is multiplied by the same gain, so only the level changes. Normalizing up is where problems start — raise a −20 LUFS file by 6 dB and its peaks can easily pass 0 dBFS.
So after the audio normalizer sets the gain, it measures the true peak with 4× oversampling. If it stays under your ceiling, you get a pure gain change — no limiter, no coloration. If it would go over, a lookahead limiter catches just those peaks, repeating the pass until the output lands close to the target without crossing the ceiling.
The result card says which happened — Limiter: Not needed or Used. If a quiet file needs heavy limiting, try −16 or −19. Use −1.0 dBTP for most music and speech, −2.0 dBTP for very loud material or files headed for MP3 or AAC.

An audio normalizer is not a leveler or a mastering tool
An audio normalizer changes level: one gain value for the whole file, plus a peak limiter when needed. An audio leveler, by contrast, rides the volume up and down over time, like an automatic gain control — handy for uneven speech, but it changes the dynamics. This tool does not do that.
Mastering goes further: EQ, glue compression, stereo width and a limiter set for the music. Our AI mastering does that in your browser, with Warm, Balanced and Bright versions you hear in full at matched loudness before paying.
Rule of thumb: normalize finished files to line them up; master a mix you are about to release — see music mastering.
When to use the audio normalizer
Typical jobs for a volume normalizer. One file at a time, up to 10 minutes each, 1 credit per file with the WAV included.
Podcast and voice clips
Bring interviews and voice-overs to −16 or −19 LUFS so segments play at an even level.
Demos and client previews
Line up rough bounces so listeners judge the music, not the volume.
References for A/B
Bring a reference track and your mix to the same target before you compare — louder almost always sounds better.
Video and broadcast
Match music beds and voice before editing, or deliver a −23 LUFS file for EBU R128.
Before you normalize audio: a quick checklist
- Start from your best source — a 24-bit or 32-bit float export, not a low-bitrate MP3 — and trim long silences first.
- Need to normalize audio volume across a set of files — an EP’s demos or a show’s segments? Use the same target and ceiling for every one.
- Listen to the A/B before you download. If the limiter was used and the peaks sound soft, try a lower target.
- Re-check the true peak with the LUFS meter after converting the WAV to any other format.
Need more than audio normalization? Master it.
Normalizing lines files up; mastering makes them release-ready. Hear three AI masters at matched loudness before you pay; the WAVs cost 10 credits or are included in a plan.
Keep going
Related tools
What does an audio normalizer do?
It changes the overall level of a file so it hits a target. This audio normalizer uses loudness normalization: it measures integrated LUFS, applies one gain value and adds a safety limiter only if the peaks would cross your true-peak ceiling. Tone and balance stay the same.
How do I normalize audio to −14 LUFS?
Drop the file above, select −14 as the target and −1.0 dBTP as the ceiling, then press Normalize. The audio normalizer sets the gain and shows the output loudness and true peak. Download the 24-bit WAV — it is included in the 1 credit.
Does normalizing reduce audio quality?
Turning a file down doesn’t change its sound. Turning it up is also clean unless the peaks would pass the ceiling; then a limiter trims only those peaks. The output is a 24-bit WAV, so there is no lossy re-encoding.
What LUFS should a podcast be?
Most podcast guidance lands between −16 and −19 LUFS integrated, with −16 common for stereo and −19 for mono. Check your host’s current spec. Files up to 10 minutes work here; normalize longer episodes in your editor.
How much does the audio normalizer cost?
1 credit per file — about $0.15 or less at the trial-pack rate — and that includes the 24-bit WAV download, with no watermark. Re-running the same file with another target or ceiling within 30 days costs nothing extra. Plans from $7.99 a month include normalize runs every month; a $2.99 trial pack holds 20 credits, and pack credits last 12 months.
Does the audio normalizer upload my file?
No. You normalize audio online, but measuring, normalizing and writing the WAV all happen in your browser, so the audio never reaches our servers. You sign in only so the tool can use your plan or credits.
Can I use it as an MP3 normalizer?
Yes, you can drop an MP3, but the download is a 24-bit WAV — we don’t export MP3. If you need an MP3, convert the WAV in your editor, then re-check the true peak, because encoding can raise it. A −2.0 dBTP ceiling gives low-bitrate files more room.
Normalize audio to your target in seconds.
Pick a target, keep your peaks safe and download the 24-bit WAV from the audio normalizer — 1 credit per file, download included.
Drop a file to start
WAV, FLAC or MP3 · up to 200 MB · 10 min